When I invest in a new product, I expect it to last for a while.
And when it comes to my bowling ball, I want to make sure it stays in the best shape possible.
Taking care of it properly is the key to longevity.
Maintaining a bowling ball isn’t complicated, but it does require commitment and doing it correctly.
Bowling balls tend to accumulate a lot of oil, dirt, and dust from the lane. Not only is it unpleasant, but it can also affect the ball’s performance.
So, let me guide you through the process of cleaning a bowling ball to ensure it delivers peak performance.
How to Clean It?
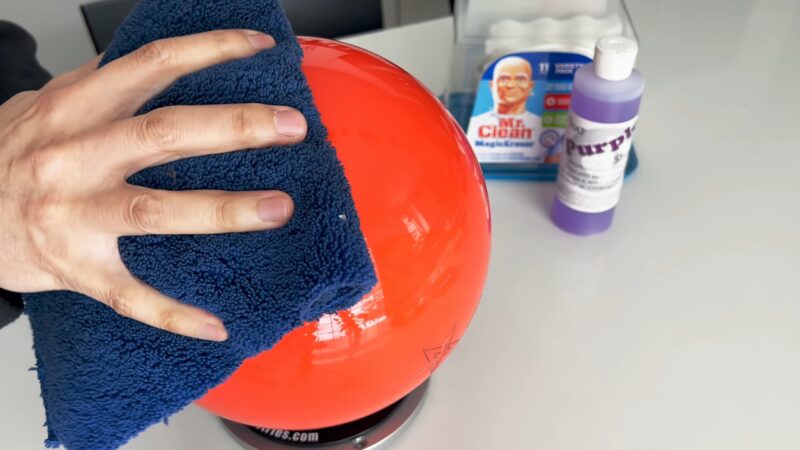
As you’re probably aware, bowling lanes are coated with oil to facilitate smoother ball movement. Consequently, after each shot, your bowling ball will accumulate oil residue from its journey down the lane. It’s important to wipe down your ball between each shot using a soft, microfiber cloth to eliminate most of the oil. However, it is also necessary to perform a more thorough cleaning of your ball at the end of the game and later at home.
To keep your ball in optimal condition, it’s recommended to follow these steps:
After each shot, wipe down your ball with a soft, microfiber cloth to remove oil residue.
Before placing the ball in your bowling bag, spray it with a ball cleaner and quickly wipe it down with a microfiber towel. This prevents the ball from soaking up oil and keeps your bag clean.
If you don’t have a ball cleaner, you can make your own using equal parts isopropyl alcohol, water, and an all-purpose cleaner like Simple Green. Mix them in a spray bottle for a cost-effective DIY alternative.
Avoid using harsh chemical cleaners like Windex. Regardless of the cleaner you use, don’t let it soak into the ball for too long. Also, prevent liquid from entering the ball by taping up the holes with waterproof tape if necessary.
Despite regular wiping, your bowling ball will eventually need a deep clean.
Tools You Need To Clean It
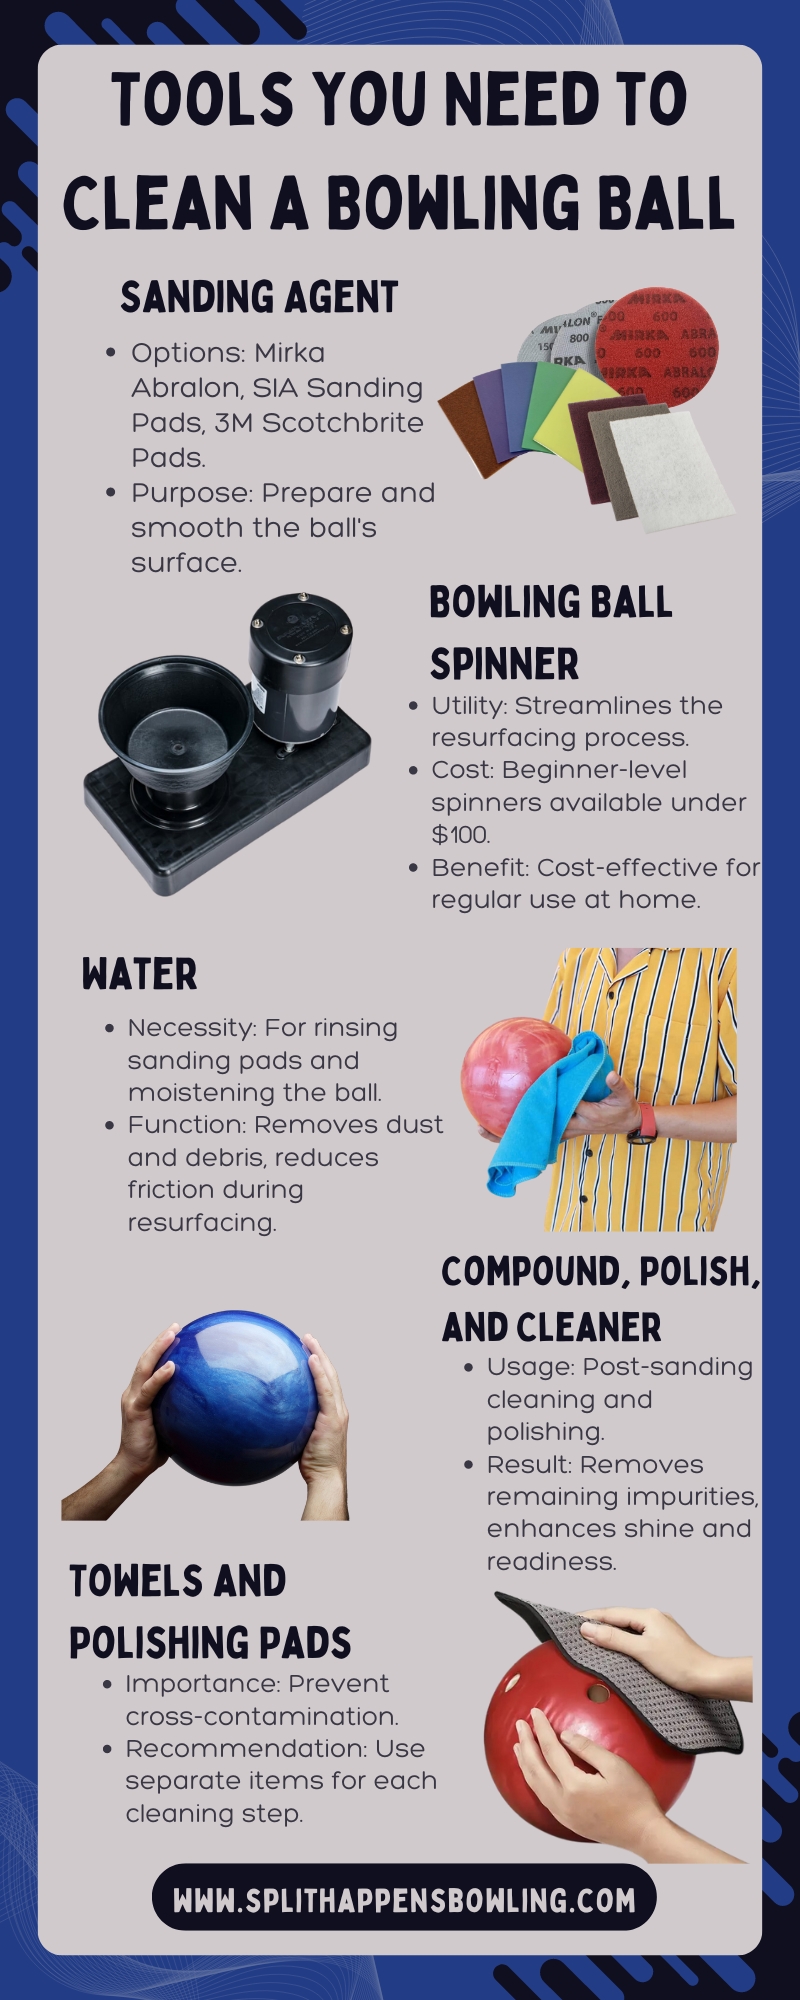
- Bowling ball sanding agent: There are various options available for sanding your bowling ball, including specific brands like Mirka Abralon or SIA sanding pads. Alternatively, you can use sandpaper or 3M Scotchbrite pads.
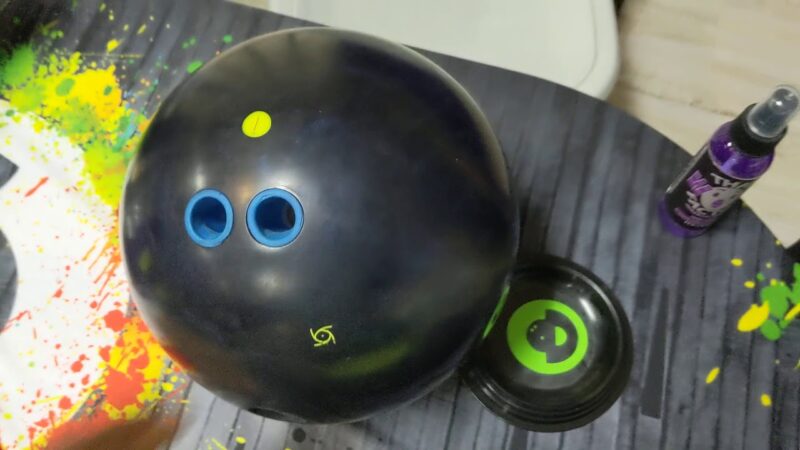
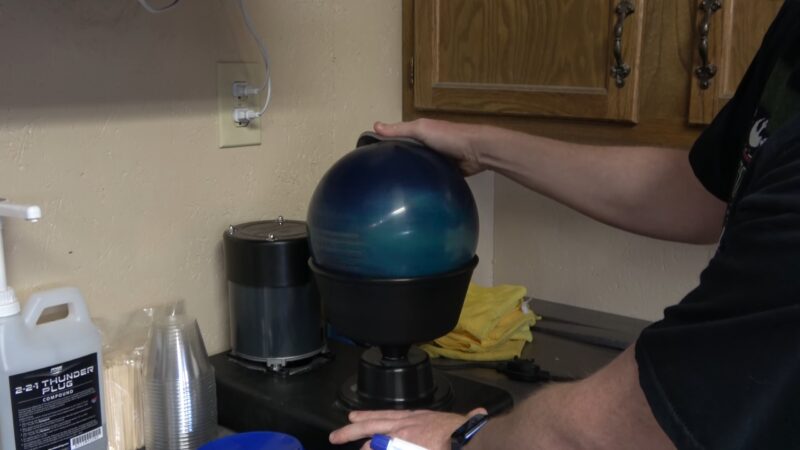
- Bowling ball spinner: This tool simplifies and streamlines the resurfacing process. If you don’t already have one, there are affordable spinners designed for bowling enthusiasts who want to resurface their balls at home. You can find beginner-level spinners for under $100, and they quickly pay for themselves with regular use.
- Water: If your spinner doesn’t include water, you’ll need a large bowl for rinsing your sanding pads and a spray bottle filled with water to moisten the bowling ball. Water serves two purposes: it helps remove dust and debris during resurfacing and reduces friction between your hands and the spinning ball.
- Compound, polish, and cleaner: Once you finish sanding the bowling ball, you’ll need these items to complete the resurfacing job. Your ball may still have dirt, oil, or debris from the lane or the resurfacing process. Compound, polish, and cleaner will ensure your bowling ball emerges looking fresh and ready for use.
- Towels and polishing pads: It’s important to use separate towels or polishing pads for each step involving compound, polish, and cleaner. This helps maintain cleanliness and prevents cross-contamination between products.
